Setting up online ordering takes more than uploading your menu and adding an Order Online button to your website. Every detail matters, from pricing and modifiers to delivery zones, payment methods, and kitchen workflows.
A rushed or incomplete setup can create real problems. Customers may see the wrong prices, miss important add-ons, place orders outside your delivery area, or receive inaccurate preparation times. Failed payments, missed kitchen tickets, confused staff, and poor customer experiences can follow.
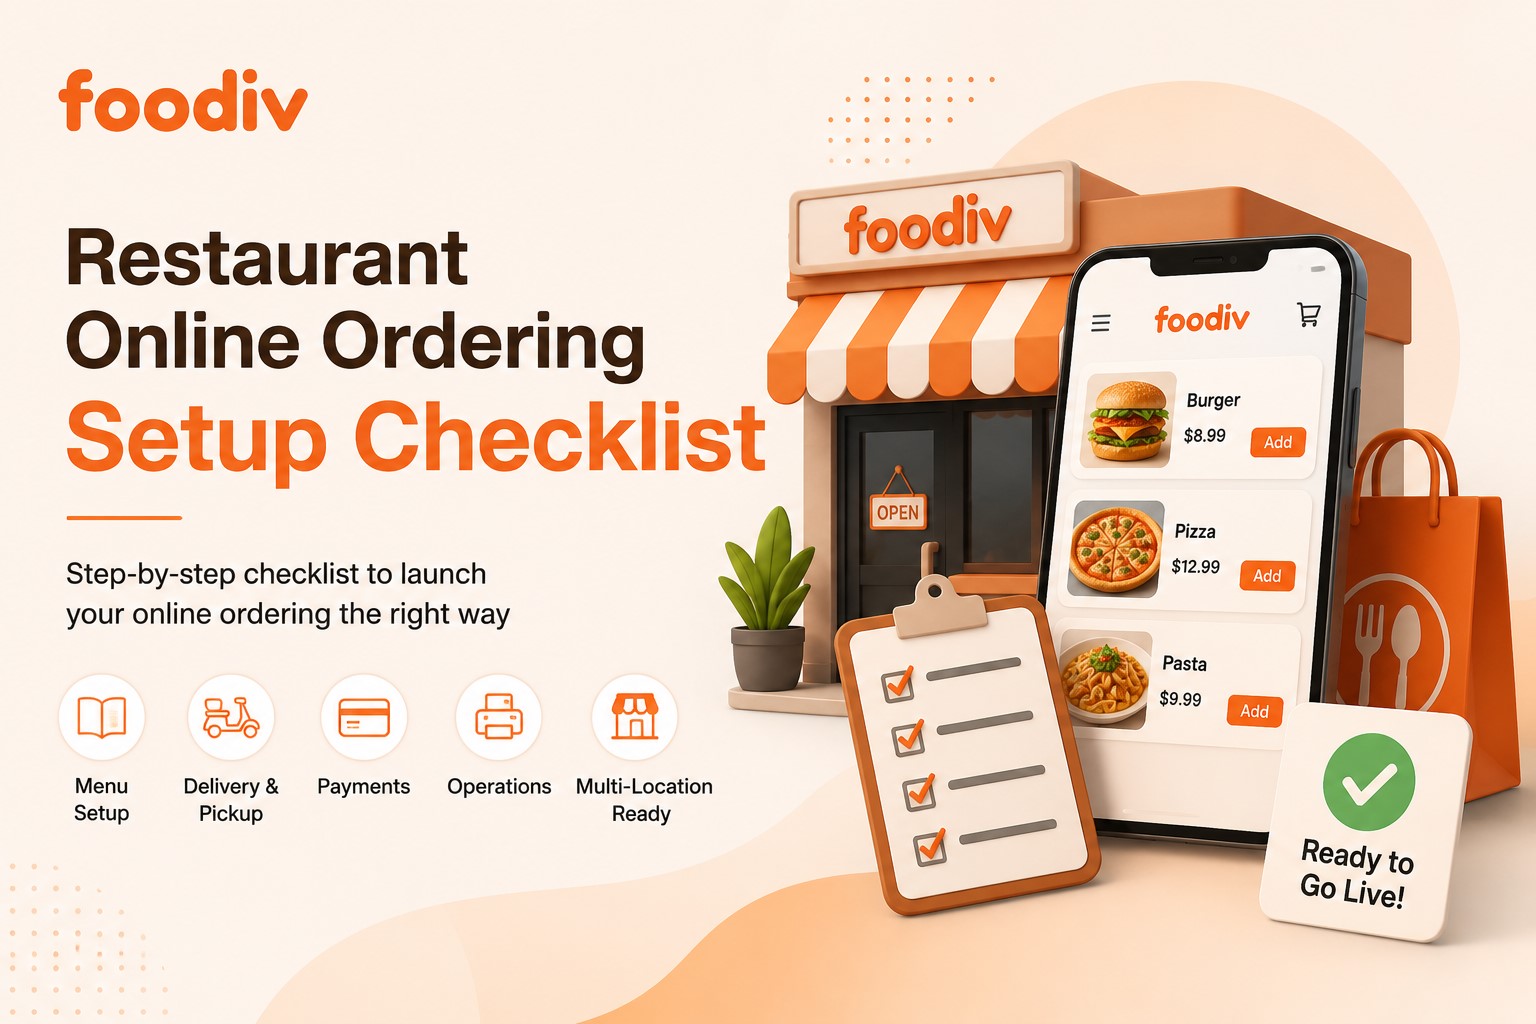
This restaurant online ordering setup checklist walks you through the full process. You’ll learn how to choose the right platform, prepare your menu, configure delivery and pickup orders, connect payments and kitchen systems, test the ordering flow, and train your team before launch. Whether you want to set up online ordering for a restaurant from scratch or improve an existing system, this guide will help you handle direct online orders with fewer mistakes.
What Do You Need to Set Up Restaurant Online Ordering?
To set up restaurant online ordering, choose the right platform, build an accurate digital menu, configure pickup and delivery rules, connect payment methods, add ordering to your website, and link the system with your POS, printer, or kitchen workflow. You should also test every order path and train your staff before going live. The checklist below breaks down each step so you can launch with fewer errors and a smoother process.
Restaurant Online Ordering Setup Checklist at a Glance
Before accepting online orders, work through these 15 steps:
- Define your online ordering goals.
- Choose the right online ordering platform.
- Gather your restaurant details and brand assets.
- Build an accurate digital menu.
- Configure modifiers, add-ons, and meal options.
- Set prices, taxes, delivery fees, service charges, and tips.
- Configure pickup hours, time slots, and preparation times.
- Create delivery zones, fees, minimum orders, and delivery rules.
- Connect your preferred payment methods.
- Add online ordering to your website, Google Business Profile, and social channels.
- Connect the system to your POS, kitchen printer, or KDS.
- Set up staff alerts, customer notifications, and order capacity controls.
- Test the complete ordering process on mobile and desktop.
- Train your staff to manage orders, refunds, delays, and unavailable items.
- Run a soft launch, collect feedback, and monitor performance before full promotion.
Completing these steps helps you catch setup errors early and gives your team a clear process for handling direct online orders.
What Is a Restaurant Online Ordering System?
A restaurant online ordering system lets customers place food orders through a website, app, or digital ordering page. Customers can view the menu, choose items, select modifiers, pick delivery or pickup, schedule an order, pay online, and receive confirmation.
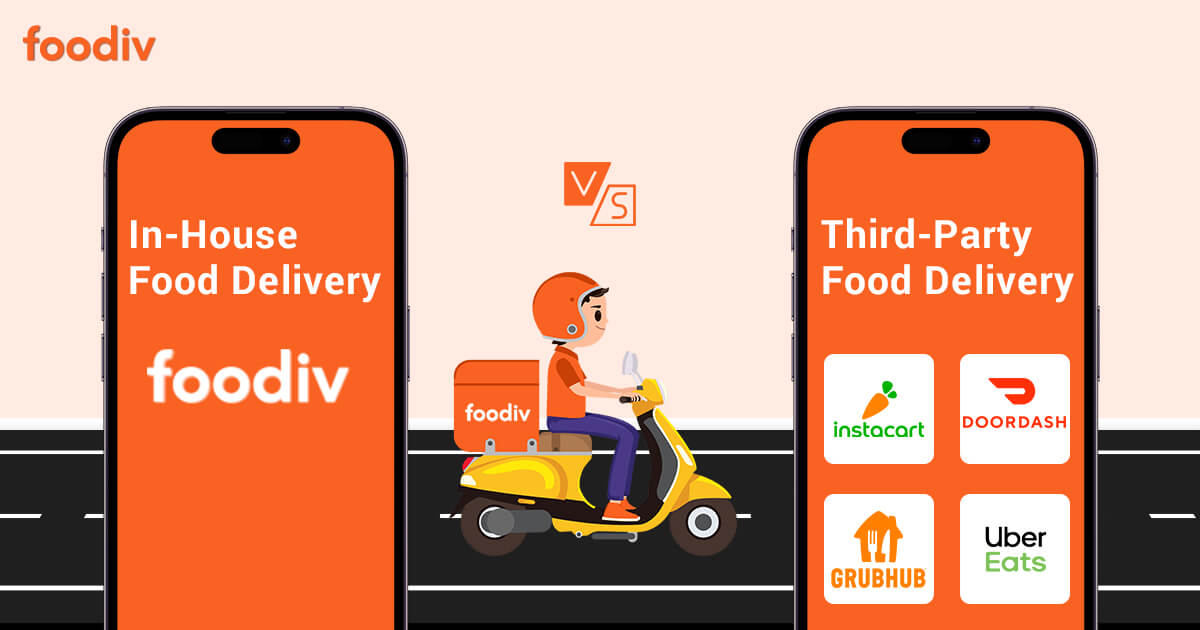
Direct ordering systems send orders straight to the restaurant. Third-party marketplaces list many restaurants and may charge commission on each order. POS-based systems connect online orders with in-store operations, while branded websites and apps give restaurants more control over the customer experience, menu, and data.
What Do You Need Before Setting Up Online Ordering?
Before you configure your platform, gather the information and assets your ordering system will need. Doing this first saves time and reduces mistakes during setup.
Use this checklist:
- Restaurant name, address, phone number, and email
- Logo, brand colours, and basic visual guidelines
- Menu categories and item names
- Item descriptions and food images
- Prices, tax rules, and service charges
- Sizes, toppings, modifiers, and add-ons
- Regular opening hours and holiday hours
- Pickup instructions and collection times
- Delivery areas, postcodes, or distance limits
- Delivery charges and minimum order values
- Preparation times for pickup and delivery
- Payment account and bank details
- Staff email addresses, phone numbers, or device details for alerts
- Website login details and social media access
You should also check that the information matches what customers already see on your website and Google Business Profile. Incorrect hours, prices, or contact details can quickly create confusion. Once everything is ready, you can build the online menu, set fulfilment rules, connect payments, and test the full ordering process with fewer delays.
Restaurant Online Ordering Setup Checklist
Use this restaurant online ordering setup checklist to prepare every part of your system before launch. Each step helps you reduce errors, keep orders moving smoothly, and give customers a better delivery or pickup experience.
Step 1: Define Your Online Ordering Goals
Before choosing an online ordering system, decide what you want it to do for your restaurant. You may want to accept direct website orders, offer pickup, manage your own deliveries, support dine-in QR ordering, or let customers schedule orders in advance. You should also consider whether you need multi-location ordering, a branded mobile app, fewer phone orders, greater control over customer data, or lower dependence on marketplace commissions.
Here’s the thing: different restaurants need different setups. A takeaway may prioritise fast pickup orders and simple payment options. A multi-location restaurant may need central menu control, branch-specific pricing, separate opening hours, and location-based delivery zones.
Clear goals make platform selection much easier. They help you focus on the features your team will actually use instead of paying for tools that add complexity without solving a real problem.
Step 2: Choose the Right Restaurant Online Ordering Platform
The right restaurant online ordering platform should match your order channels, menu complexity, daily workflow, integrations, and future growth plans. A small café taking pickup orders will need a different setup from a restaurant chain managing delivery across several locations.
Start by checking whether the platform supports branded website ordering, pickup, restaurant-managed delivery, scheduled orders, and dine-in QR ordering. Review how it handles menu categories, sizes, modifiers, combos, item availability, and location-specific pricing.
Cost also matters. Look beyond the monthly subscription and check order commissions, payment-processing fees, setup costs, and charges for additional locations or features.
Requirement
What to Check
Cost
Subscription, commission, and payment fees
Menu
Variants, modifiers, combos, and availability
Fulfilment
Delivery, pickup, and scheduled orders
Integration
POS, KDS, printers, and payments
Branding
Custom domain, colours, and restaurant identity
Growth
Multi-location controls and reporting
You should also confirm who owns the customer data. Direct access to customer details can help you run loyalty programmes, promotions, and repeat-order campaigns.
Finally, check whether the platform connects with your POS, kitchen printer, or KDS. Reliable reporting and responsive technical support also matter once orders start coming in.
Choose the system that solves your operational needs without adding unnecessary complexity.
Step 3: Add Your Restaurant and Brand Information
Add accurate restaurant and brand information before building the menu. This includes your restaurant name, address, phone number, email address, logo, brand colours, opening hours, and location details.
You should also include clear pickup instructions, delivery information, terms of service, and privacy details. Keep this information consistent across your ordering page, restaurant website, Google Business Profile, and social media accounts.
Conflicting addresses or opening hours can confuse customers and lead to missed orders or failed collections.
Check before continuing:
- Contact details are correct
- Opening hours match other online listings
- The logo looks clear on mobile
- The pickup address is easy to find
- Delivery and collection instructions are accurate
Review these details again whenever your hours, contact information, or location rules change.
Step 4: Build Your Digital Restaurant Menu
Your online menu should be accurate, easy to scan, and designed to help customers make decisions quickly. Do not simply copy a printed menu without considering how people browse and order on a phone.
Organise items into clear categories such as starters, burgers, pizzas, mains, sides, desserts, and drinks. Use familiar item names and short descriptions that explain what customers will receive.
Add correct prices, portion sizes, meal options, dietary labels, and allergen information. High-quality food images can help customers choose, but only use images that reflect the actual dish.
You should also configure item availability. Remove or pause unavailable products instead of accepting orders you cannot prepare. Time-based menus can help you show breakfast, lunch, dinner, or late-night items only when they are available.
Place popular and high-margin dishes where customers can find them easily. Avoid creating too many categories or forcing customers to scroll through long, confusing lists.
Weak description:
Chicken Burger
Better description:
Grilled chicken breast with lettuce, tomato, pickles, and house sauce in a toasted brioche bun.
The better description answers basic questions before the customer needs to ask. It explains the main ingredients, preparation style, and what comes with the item.
Before publishing the menu, compare every item and price with your current in-store menu.
Step 5: Configure Modifiers, Add-Ons and Meal Options
Modifiers let customers customise their food without calling the restaurant. They also help your kitchen receive clear instructions and charge correctly for extras.
Set up choices such as sizes, toppings, spice levels, cooking preferences, optional extras, removal requests, side dishes, drink options, and combo upgrades. Mark selections as required only when the kitchen genuinely needs an answer.
For example, a pizza modifier structure may look like this:
- Choose a size: Small, medium, or large
- Choose a crust: Thin, regular, or stuffed
- Add toppings: Mushrooms, olives, peppers, or extra cheese
- Remove ingredients: No onions or no sauce
- Choose a dip: Garlic, chilli, or barbecue
Set minimum and maximum selection limits where needed. If a meal includes one drink, the system should not allow customers to select three without an extra charge.
Display additional costs clearly next to each option. Customers should understand how their choices affect the final price before reaching checkout.
Test required modifiers carefully. A customer should not be able to add a pizza without selecting its size, but they also should not be forced to choose a paid extra.
Step 6: Set Prices, Taxes, Fees, Discounts and Tips
Restaurants should configure menu prices, taxes, delivery fees, service charges, packaging fees, minimum order values, discounts, and optional tips. Every charge should appear clearly before the customer pays.
Start by checking whether your prices include tax or whether the system adds tax at checkout. Apply the correct tax rule to each item, as food and beverage categories may follow different rules in some locations.
Set delivery fees based on distance or area. You may also need a packaging charge or service fee, but avoid adding unexpected costs at the final payment stage.
Configure minimum order values for delivery where necessary. Pickup orders may not need the same minimum.
You can also add promotional codes, first-order discounts, fixed-price deals, or percentage discounts. Make sure the system prevents invalid combinations or expired offers.
For multi-location restaurants, confirm whether each branch can use different prices, taxes, fees, and promotions.
The checkout page should show the item total, taxes, fees, discounts, tip, and final amount in a simple breakdown. Price transparency builds trust and reduces abandoned orders.
Step 7: Configure Pickup Ordering
To set up online pickup, define when customers can order, how long preparation takes, and how many orders the kitchen can handle at once.
Set pickup availability based on your real opening hours. Add separate holiday hours so customers cannot place orders when the restaurant is closed.
Create realistic pickup time slots and allow scheduled pickup if your operation supports advance orders. You may also set a maximum number of orders for each time slot to prevent kitchen overload.
Preparation time should change when demand changes. If the kitchen normally needs 20 minutes but requires 35 minutes during dinner hours, configure different preparation times rather than using one estimate all day.
Add clear pickup instructions. Tell customers where to collect the order, what information they should provide, and whether curbside collection is available.
You can also send a notification when an order is ready or allow customers to alert staff when they arrive.
Test pickup orders during both quiet and busy periods. The promised collection time should match what the kitchen can consistently deliver.
Step 8: Configure Delivery Zones and Delivery Rules
Restaurants can set delivery areas using a distance radius, postcodes, ZIP codes, or custom map zones. Choose the method that reflects how your drivers actually serve customers.
Define clear boundaries for every delivery area. Then set the delivery fee, minimum order value, and estimated delivery time for each zone. A nearby area may have a lower fee and shorter delivery time than an outer zone.
Check whether the platform validates customer addresses before checkout. Address validation helps prevent orders from locations you cannot serve.
You should also configure driver availability, scheduled delivery, maximum delivery capacity, and temporary delivery pauses. If you only have two drivers, do not allow unlimited orders during the same 15-minute window.
Mark areas that are difficult, unsafe, or impractical to serve. Customers should know whether delivery is available before they build a full basket.
Delivery radius
Up to 5 miles
Preparation time
25 to 35 minutes
Scheduled orders
Up to three days ahead
These numbers are examples only. Your delivery settings should reflect your location, order value, staffing, traffic, driver costs, and kitchen capacity.
Place test orders from addresses near every zone boundary. This helps you find gaps, overlaps, and incorrect delivery charges before customers do.
Step 9: Connect Online Payment Methods
Restaurants can accept online payments through credit cards, debit cards, digital wallets, supported payment services, or cash options. The best mix depends on what your customers use and how you manage refunds and settlements.
Connect your payment gateway and confirm that it sends funds to the correct business account. Check the payment-processing fee, payout schedule, supported currencies, and minimum settlement amount.
Offer familiar options such as credit and debit cards, Apple Pay, Google Pay, or PayPal where supported. You may also allow cash on pickup or delivery, but make sure the kitchen can clearly see whether an order has already been paid.
Review how the system handles failed payments, refunds, partial refunds, and chargebacks. Staff should know whether refunds happen through the ordering dashboard, payment provider, or POS.
Before launch, test:
- A successful card payment
- A declined card
- A digital wallet payment
- An order with a discount
- A full or partial refund
- Delivery-fee calculation
- Payment confirmation messages
A failed payment should not send an order to the kitchen as confirmed. The customer should receive a clear message explaining what to do next.
Step 10: Add Online Ordering to Your Website and Profiles
Make online ordering easy to find wherever customers search for your restaurant. The main Order Online button should appear clearly on your website, especially on mobile.
Place the button in the main navigation, homepage header, or another visible area. You can connect it to an ordering widget, hosted ordering page, custom domain, or restaurant subdomain.
Do not hide the ordering link inside the contact page or behind several menu clicks. Customers who are ready to order should reach the menu quickly.
Add the same ordering link to your Google Business Profile, Instagram profile, Facebook page, email campaigns, and other customer channels. Printed QR codes can direct customers from flyers, packaging, receipts, tables, or restaurant windows to the ordering page.
Use table QR codes only when you have configured dine-in ordering and the kitchen can identify the table correctly.
Here’s a simple test: ask someone who has never used your website to find the online ordering page on their phone. If it takes more than a few seconds, improve the button placement or wording.
Check every link after publishing. Broken or outdated links can send customers to the wrong menu or location.
Step 11: Connect Your POS, Kitchen Printer or KDS
Restaurants do not always need POS integration for online ordering, but it can reduce manual entry and order errors. Smaller restaurants may begin with a tablet or kitchen printer, while higher-volume operations often benefit from POS or KDS integration.
Choose how your team will receive orders. Options may include:
- Direct POS integration
- Kitchen Display System
- Automatic kitchen printing
- Tablet notifications
- Email or SMS alerts
- Manual order acceptance
The system should send every order to the right place without staff retyping it. Manual entry increases the risk of missed modifiers, incorrect prices, and delayed preparation.
Test whether the integration transfers:
- Menu items and quantities
- Sizes, modifiers, and add-ons
- Prices, taxes, and fees
- Customer notes
- Pickup or delivery type
- Scheduled order time
- Payment status
- Kitchen station routing
For example, drink items may need to appear at the bar while food items go to the kitchen. A delivery order should also show the customer address and delivery instructions.
Check what happens when the printer runs out of paper, the internet drops, or the POS connection fails. Staff should receive a backup alert and know how to recover the order.
A reliable order-receiving workflow matters more than using the most complex integration available.
Step 12: Configure Notifications and Order Capacity
Set up notifications so staff and customers know what is happening at every stage of the order.
Staff should receive a clear alert when a new order arrives. Configure missed-order warnings so the system sends another notification when no one accepts the order within a set time.
Customers should receive confirmation after placing an order. You may also send updates when the restaurant accepts, rejects, prepares, dispatches, or marks an order ready for pickup.
Driver notifications can help coordinate delivery handoffs and reduce waiting time.
Capacity controls protect the kitchen during busy periods. Use order throttling, maximum order limits, preparation-time adjustments, or temporary ordering pauses when demand becomes too high.
Staff should also know how to mark an item sold out without removing it permanently.
These controls stop the restaurant from accepting more orders than the kitchen can prepare. They also help you give customers realistic collection and delivery estimates instead of promising times your team cannot meet.
Step 13: Test the Complete Customer and Staff Journey
Test every part of the online ordering process before inviting real customers. Do not stop after placing one successful pickup order.
Complete tests on both mobile and desktop. Place pickup, delivery, and scheduled orders. Add products with required modifiers, use discount codes, test minimum order rules, and enter an address outside the delivery zone.
You should also test failed payments, refunds, sold-out items, closed-hours ordering, customer confirmations, staff alerts, and kitchen tickets.
Required modifier skipped
Customer sees an error
Address outside the zone
Delivery is unavailable
Payment fails
Order is not sent to the kitchen
Scheduled order placed
Correct date and time appear
Item sold out
Item cannot be ordered
Refund processed
Customer and order records update
Check the full staff journey as well. Confirm that the order reaches the correct POS, printer, tablet, or KDS. Make sure modifiers appear clearly and staff can identify whether the order is for delivery, pickup, or a future time.
Test what happens when an order is rejected or delayed. The customer should receive an accurate update.
Repeat tests during busy hours if possible. A system may work well with one order but behave differently when several orders arrive together.
Record every issue, fix it, and retest before launch.
Step 14: Train Your Restaurant Staff
Train front-of-house, kitchen, and delivery staff before the system goes live. Everyone should understand how online orders move from checkout to preparation and handoff.
Show staff how to accept or reject orders, read modifiers, update preparation times, mark products unavailable, and identify paid and unpaid orders.
They should also know how to process refunds, handle delivery and pickup questions, respond to customer complaints, and pause online ordering when the kitchen reaches capacity.
Create a clear escalation process for printer failures, payment issues, missing orders, and internet problems. Staff should know who to contact and what backup process to follow.
Assign one person to monitor online orders during each shift. This prevents confusion about who should accept orders, update statuses, or contact customers.
Create a one-page staff procedure that covers the most common tasks. Keep it near the POS, tablet, or kitchen station.
At the end of service, staff should check pending orders, close or pause ordering correctly, update sold-out items, and prepare the system for the next day.
Step 15: Run a Soft Launch Before Full Promotion
Start with a soft launch instead of promoting online ordering to everyone on the first day. A limited launch gives your team time to find problems under real operating conditions.
Ask staff members to place orders from their own phones. Then invite a small group of regular customers to try the system and share honest feedback.
You may temporarily limit delivery areas, available time slots, or menu items while the team learns the workflow.
During the soft launch:
- Monitor actual preparation times
- Track customer questions
- Check kitchen ticket accuracy
- Review payment settlements
- Watch for missed notifications
- Fix menu and modifier problems
- Collect feedback from staff
- Compare promised and actual delivery times
Review every issue at the end of each shift. Small problems with modifiers, fees, preparation times, or delivery zones can become much bigger once order volume increases.
Begin full promotion only when the restaurant can process online orders consistently. The goal is not simply to make the system available. It is to make sure customers and staff can rely on it.
Restaurant Online Ordering Pre-Launch Checklist
Review each item before promoting your online ordering system. Complete final test orders and fix any issues before customers begin using it.
Final check:
Do not launch until every box is checked. Testing now can prevent missed orders, incorrect charges, kitchen confusion, and poor customer experiences later.
How Long Does Restaurant Online Ordering Setup Take?
Restaurant online ordering setup can take anywhere from a few hours to several days, depending on the complexity of your menu, delivery rules, integrations, and number of locations.
A simple setup with a small menu and pickup ordering can be completed quickly. Delivery with several zones, different fees, and scheduled orders needs more configuration and testing. Complex modifiers, meal combinations, POS integration, printer setup, or KDS routing usually take longer.
Multi-location restaurants also need to validate each branch’s menu, prices, opening hours, delivery areas, and payment settings.
In practice, the ordering page itself is rarely the biggest delay. Menu preparation, access to integration accounts, staff availability, and final testing often have a much greater effect on the timeline.
How Foodiv Helps Restaurants Set Up Direct Online Ordering
Foodiv helps restaurants build a direct ordering channel while keeping control of their brand, menu, customer relationships, and daily operations. It supports independent restaurants as well as businesses managing several locations.
Branded Direct Ordering
Restaurants can accept orders through their own branded website and mobile app rather than sending customers to a marketplace. The ordering experience can include the restaurant’s logo, colours, menu, and domain. Foodiv also positions direct orders as commission-free, which means it does not take a percentage from each order.
Delivery, Pickup and QR Ordering
Foodiv supports restaurant online ordering with delivery and pickup, scheduled orders, and QR ordering for dine-in customers. Restaurants can use QR codes at tables so customers can browse the menu and send orders directly to the restaurant’s order workflow.
Flexible Menu Management
Restaurants can organise items into categories, add descriptions and images, configure modifiers and add-ons, update prices, and control item availability. This makes it easier to manage detailed menus without asking customers to call for every change or special request.
Payment and Order Management
Foodiv supports secure online payments, order confirmations, notifications, and central order management. Restaurants can also connect supported POS and kitchen workflows to reduce manual entry and move orders more clearly from checkout to preparation.
Customer Data and Promotions
Because customers order directly, restaurants can keep their customer information and order history. They can use this data for loyalty rewards, targeted offers, follow-up messages, and repeat-order campaigns.
Multi-Location Control
Foodiv can also work as a multi-location restaurant ordering system. Operators can manage branches centrally while controlling location-specific menus, prices, opening hours, delivery areas, staff access, and reporting.
Final Verdict: Is Your Restaurant Ready to Accept Online Orders?
Successful online ordering depends on more than choosing the right software. Your menu, pricing, delivery rules, payment setup, kitchen workflow, staff training, and customer communication all need to work together.
Before promoting the service, review this restaurant online ordering setup checklist, complete test orders, and fix any issues you find. A careful launch will help your team avoid missed orders, pricing errors, delays, and poor customer experiences.